
Trichromes: Colour Photography using Black and White Film
Hey, it's a kind of magic.

Photography was invented around the mid 1830s, and was initially only monochrome. It didn't take the inquisitive scientists of the age too long in getting round to thinking of how to take Pictures in Colour. In 1855 James Clerk Maxwell outlined how it might be done in theory using a three colour method, and the first colour picture using this process was made about five years later.
In essence, the three colour process mimics how the eye perceives colour: The various cones in the retina sense three different areas of the colour spectrum and then interpolates this into the 'sense' of a colour in our minds. To emulate this, all one has to do is take three separate black and white pictures each under a different filter, then recombine them either photographically or electronically to give a reasonable facsimile of the colours of the original subject.
The 'three pictures three filters' method was pretty much the only practical colour photography until the introduction of the Autochrome around 1905. Advances in chemistry led to a practical single strip colour process in the thirties. Despite appearances, single strip colour photography works on the same principle - with a tri pack of emulsion on a single sheet of acetate, with filters between and the three layers able to attract the required dyes to that layer alone. Seriously ingenious.
The obvious drawback was that the three images can take a while to take, especially with the slow film and long exposures, so ingenious cameras with beam-splitters and prisms separated the light through a single lens and exposed the three plates simultaneously.
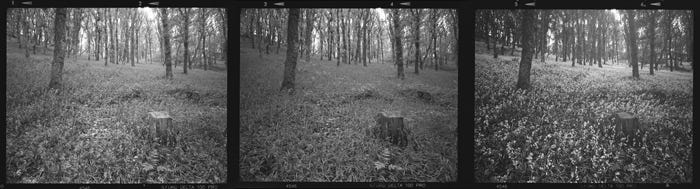
I don't have a camera like that, but any camera will work, so long as you have a tripod and three colour filters in red blue and green. Take the red, wind on, green, wind on, blue - You're done. Process and then recombine.
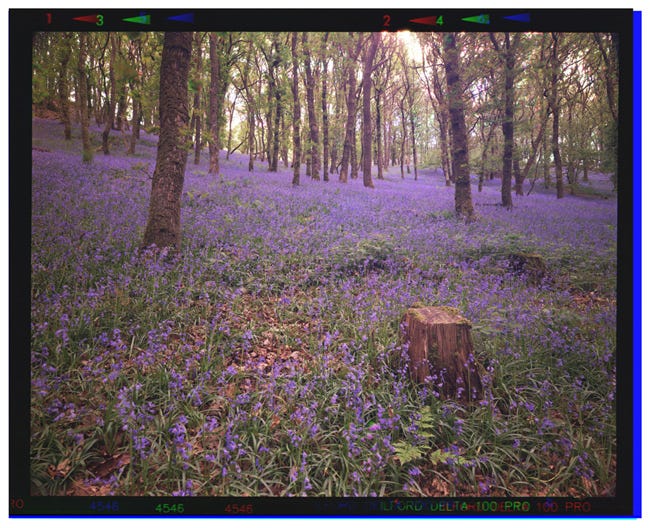
For those of you conversant with Photoshop, the three images are then placed into one file with three layers and auto aligned. Once that's done, a new RGB file is opened, and each layer is placed separately into the three colour channels of the new file - So long as you've remembered which colour layer is which (I always take the pictures in the order Red-Green-Blue) then all should turn out well - you can tweak the colour and contrast and so forth - and automate the process in Actions.

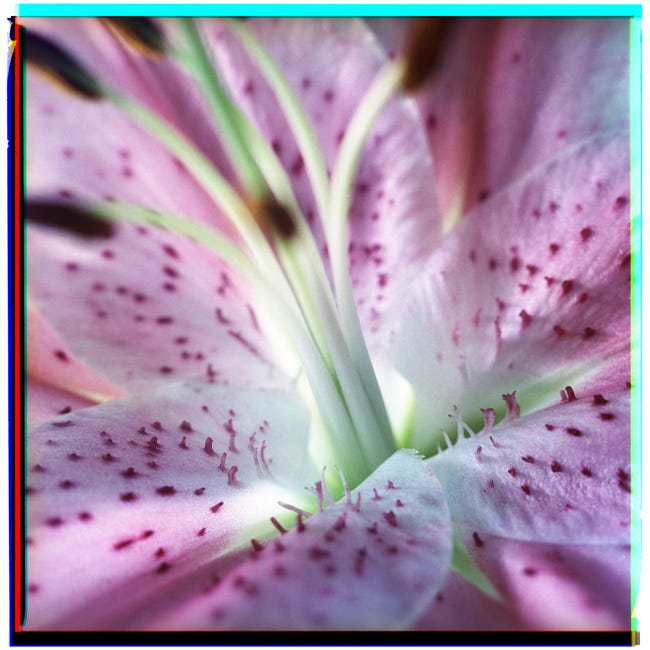
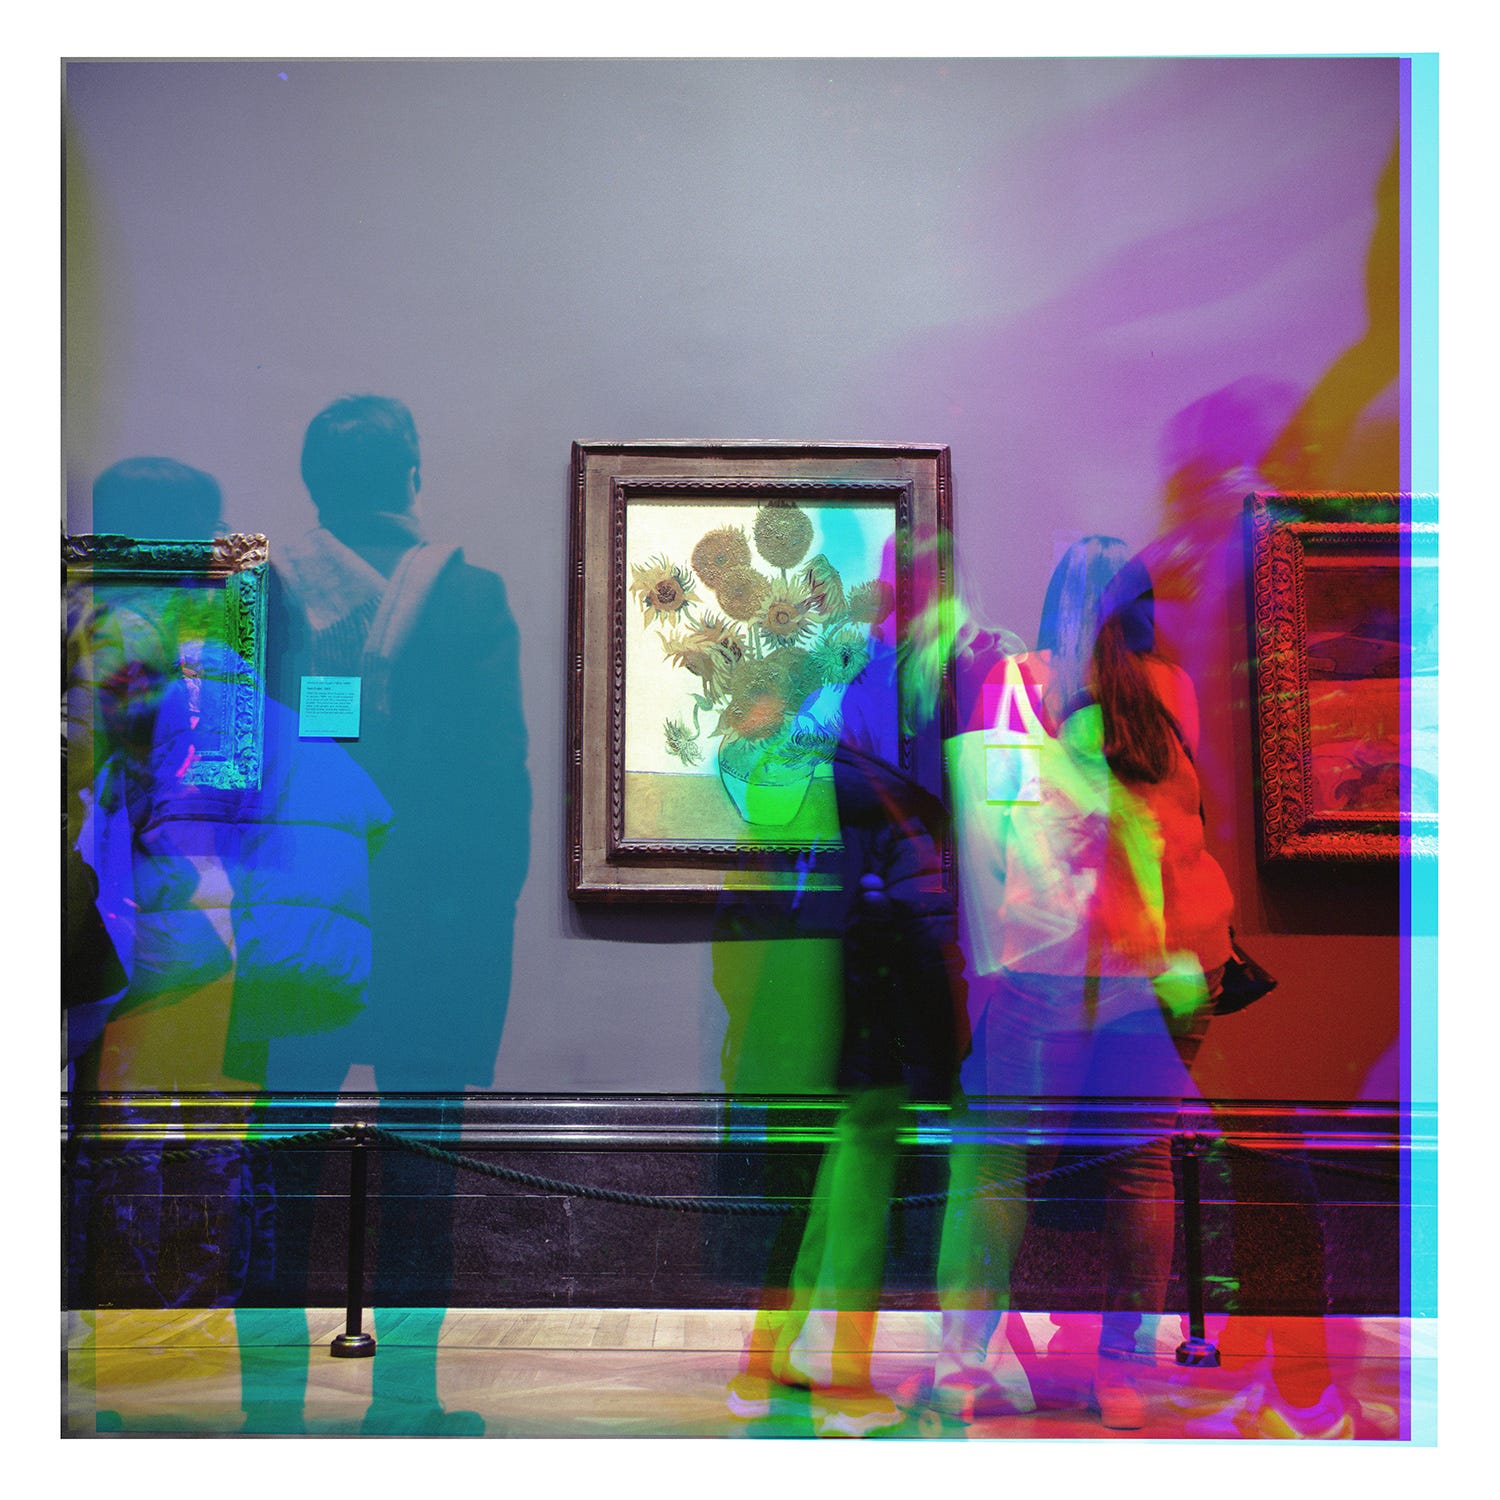
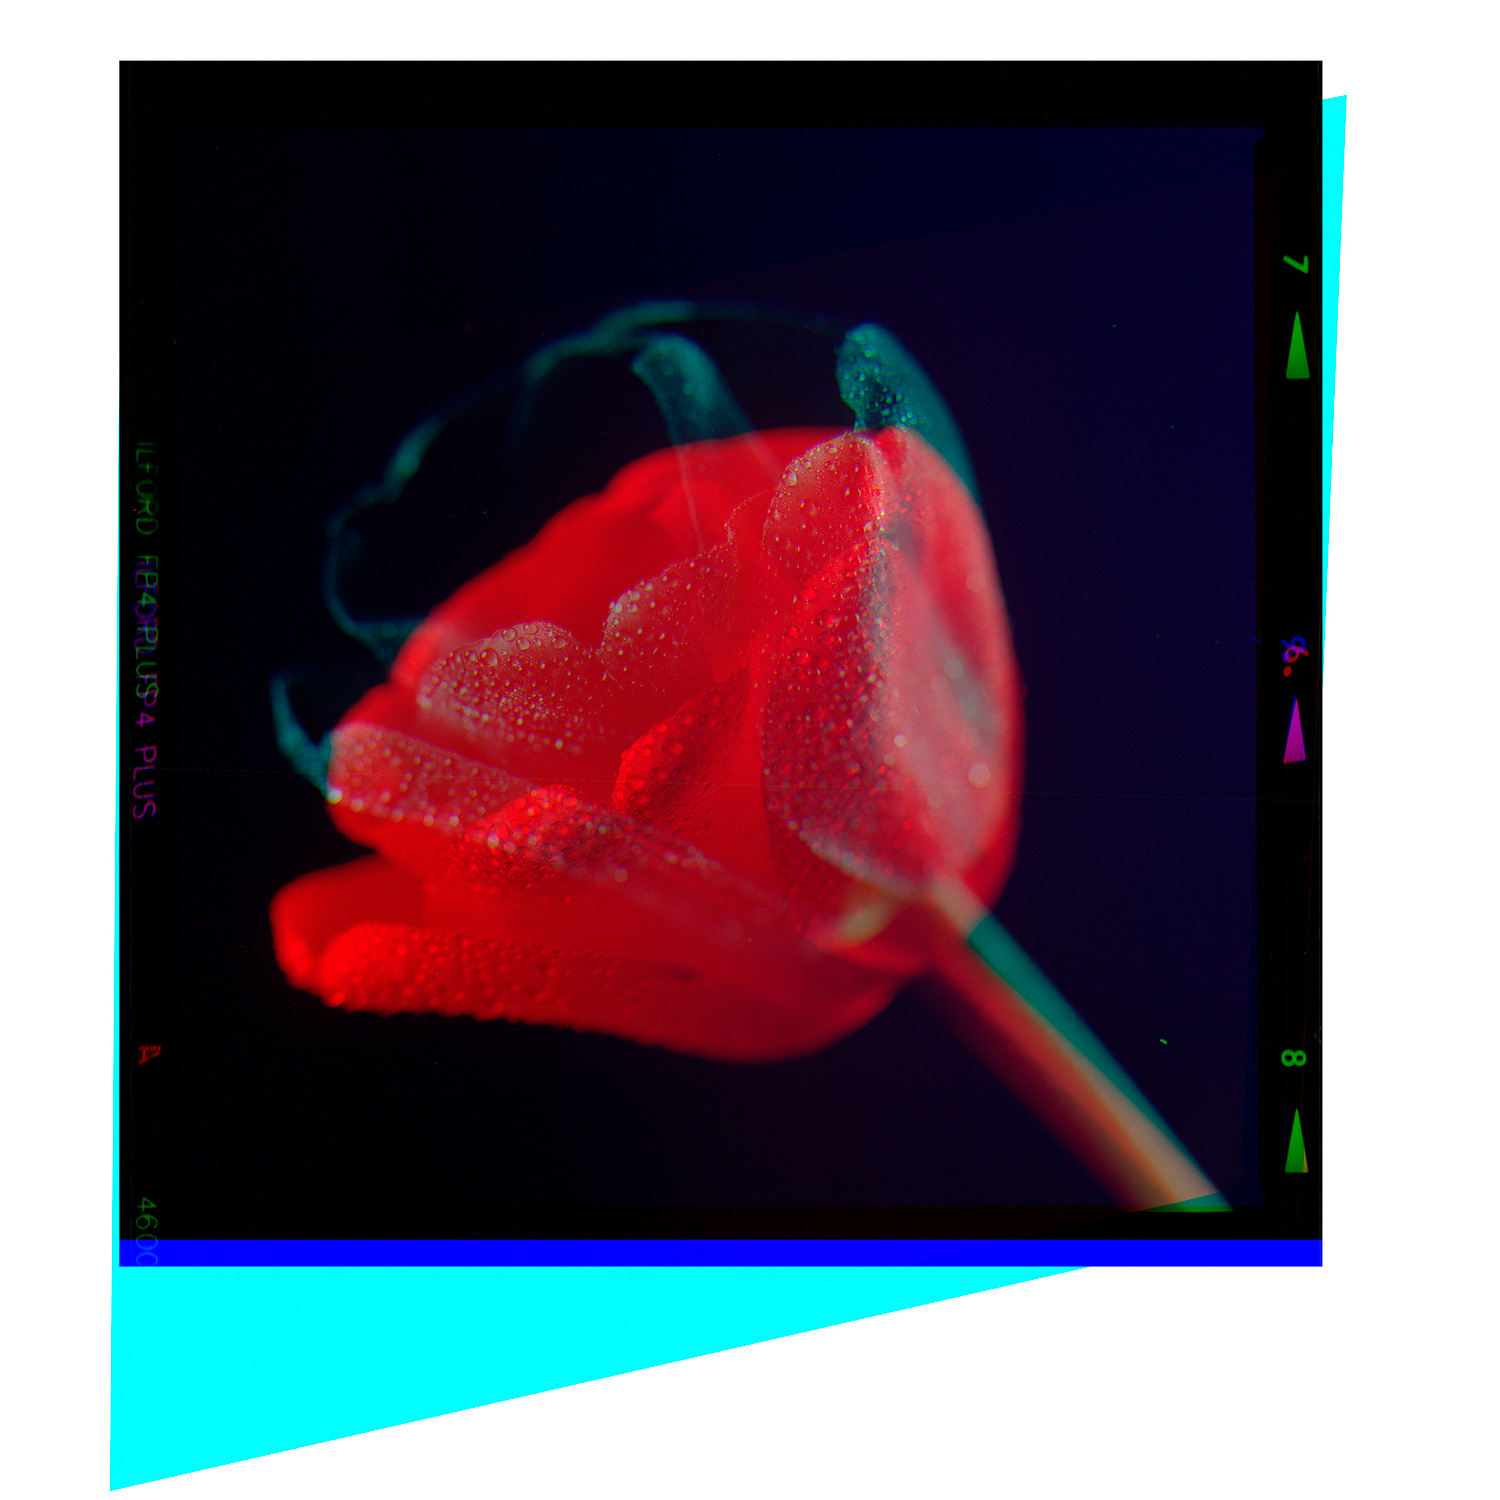
Of course, when things do move in shot they can either be annoying - like clouds, which rarely look good, but intentionally the effect can be quite attractive, as the absence of one filter leaves a ‘chromatic ghost’ in the colour information of the remaining two.
I took this tri-selfie in the Canberra Museum of Art. It's of their Jackson Pollock, greeted with great derision when originally bought, but is now the most valuable painting in the gallery. I took this on my Rolleiflex, and as you can see, the camera moved a little during the three exposures - as did I.
I have two sets of filters - my 'super duper expensive' set which give me good and clear colour separations. The Red is a 25A, the Green a 58, and the Blue a 47B. These would have been the filters used by printers to separate out the colours for three colour magazine printing and they do a very good job but cut out a lot of light - three stops for each. The results are very good indeed, but often too close to conventional colour photography.
Rather than degrade the images in Photoshop which seems utterly pointless and makes the whole issue an electronic rather than a photographic one, I have a set of Red Green and Blue filters bought cheaply as effect filters, and these give a 50's style, as the separations are not so distinct and the gamut more narrow.
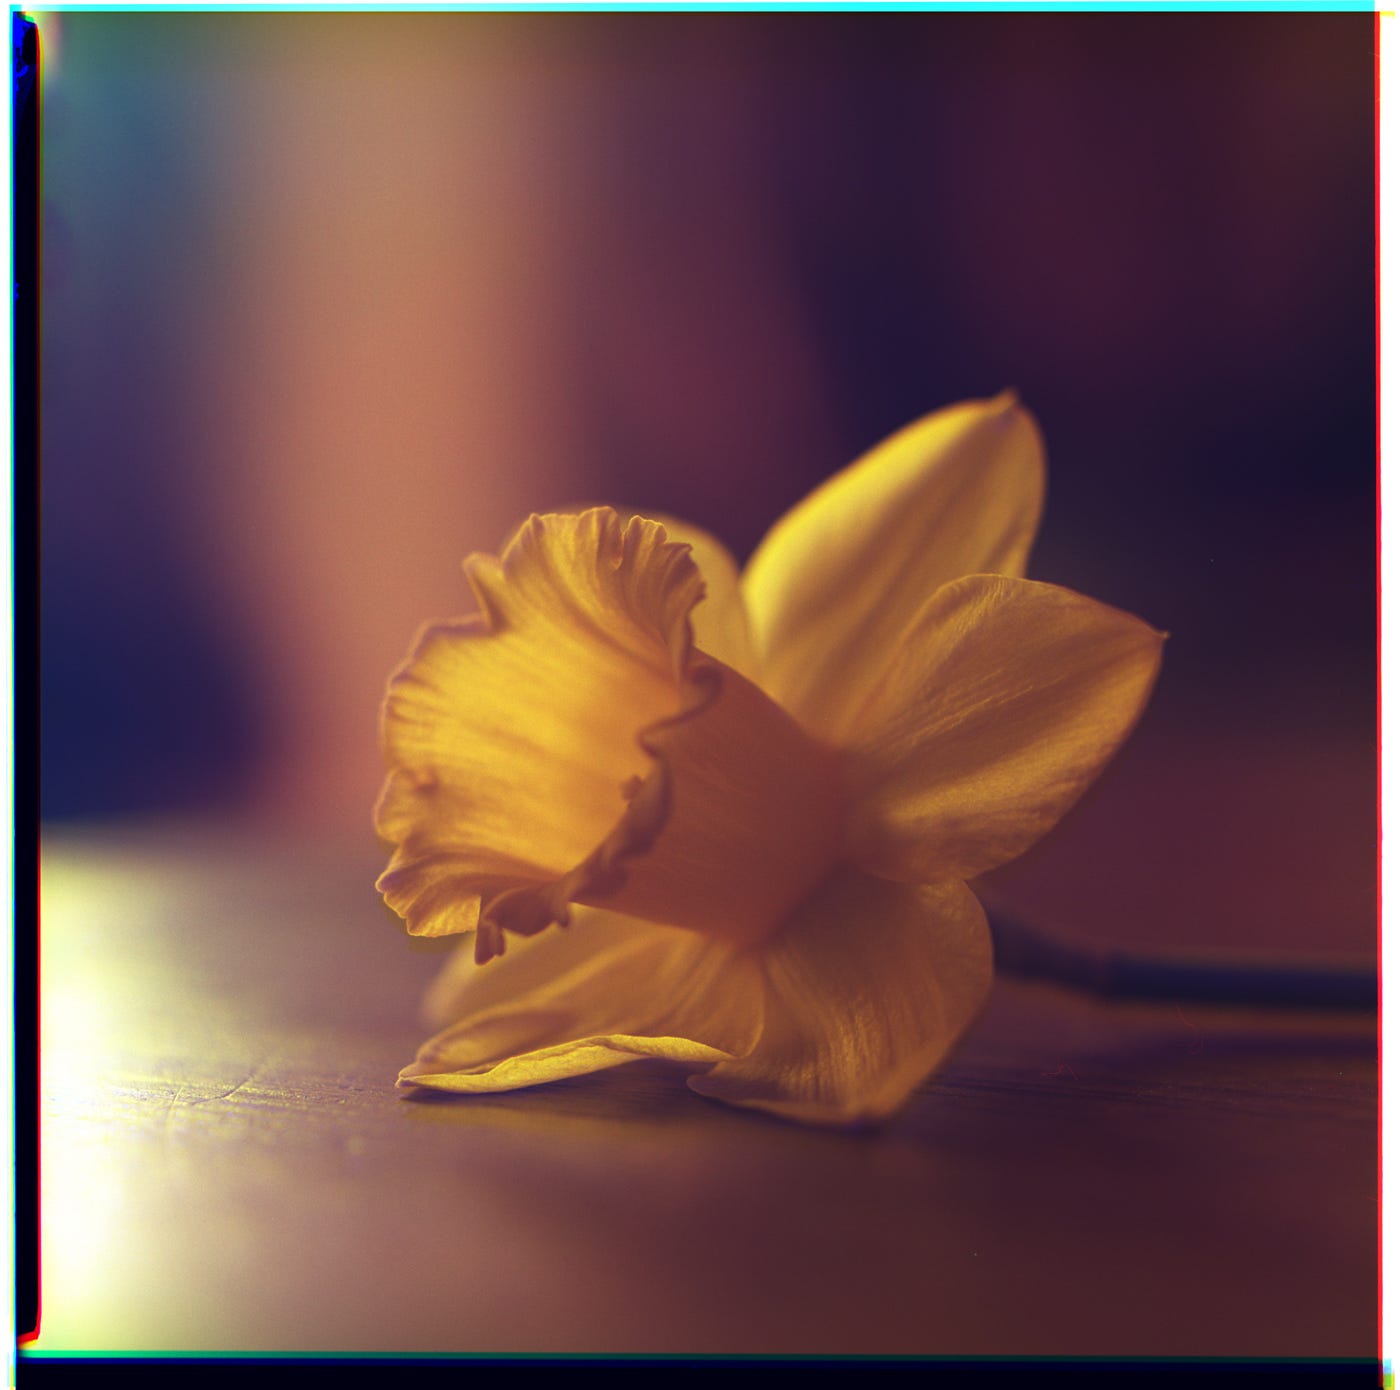
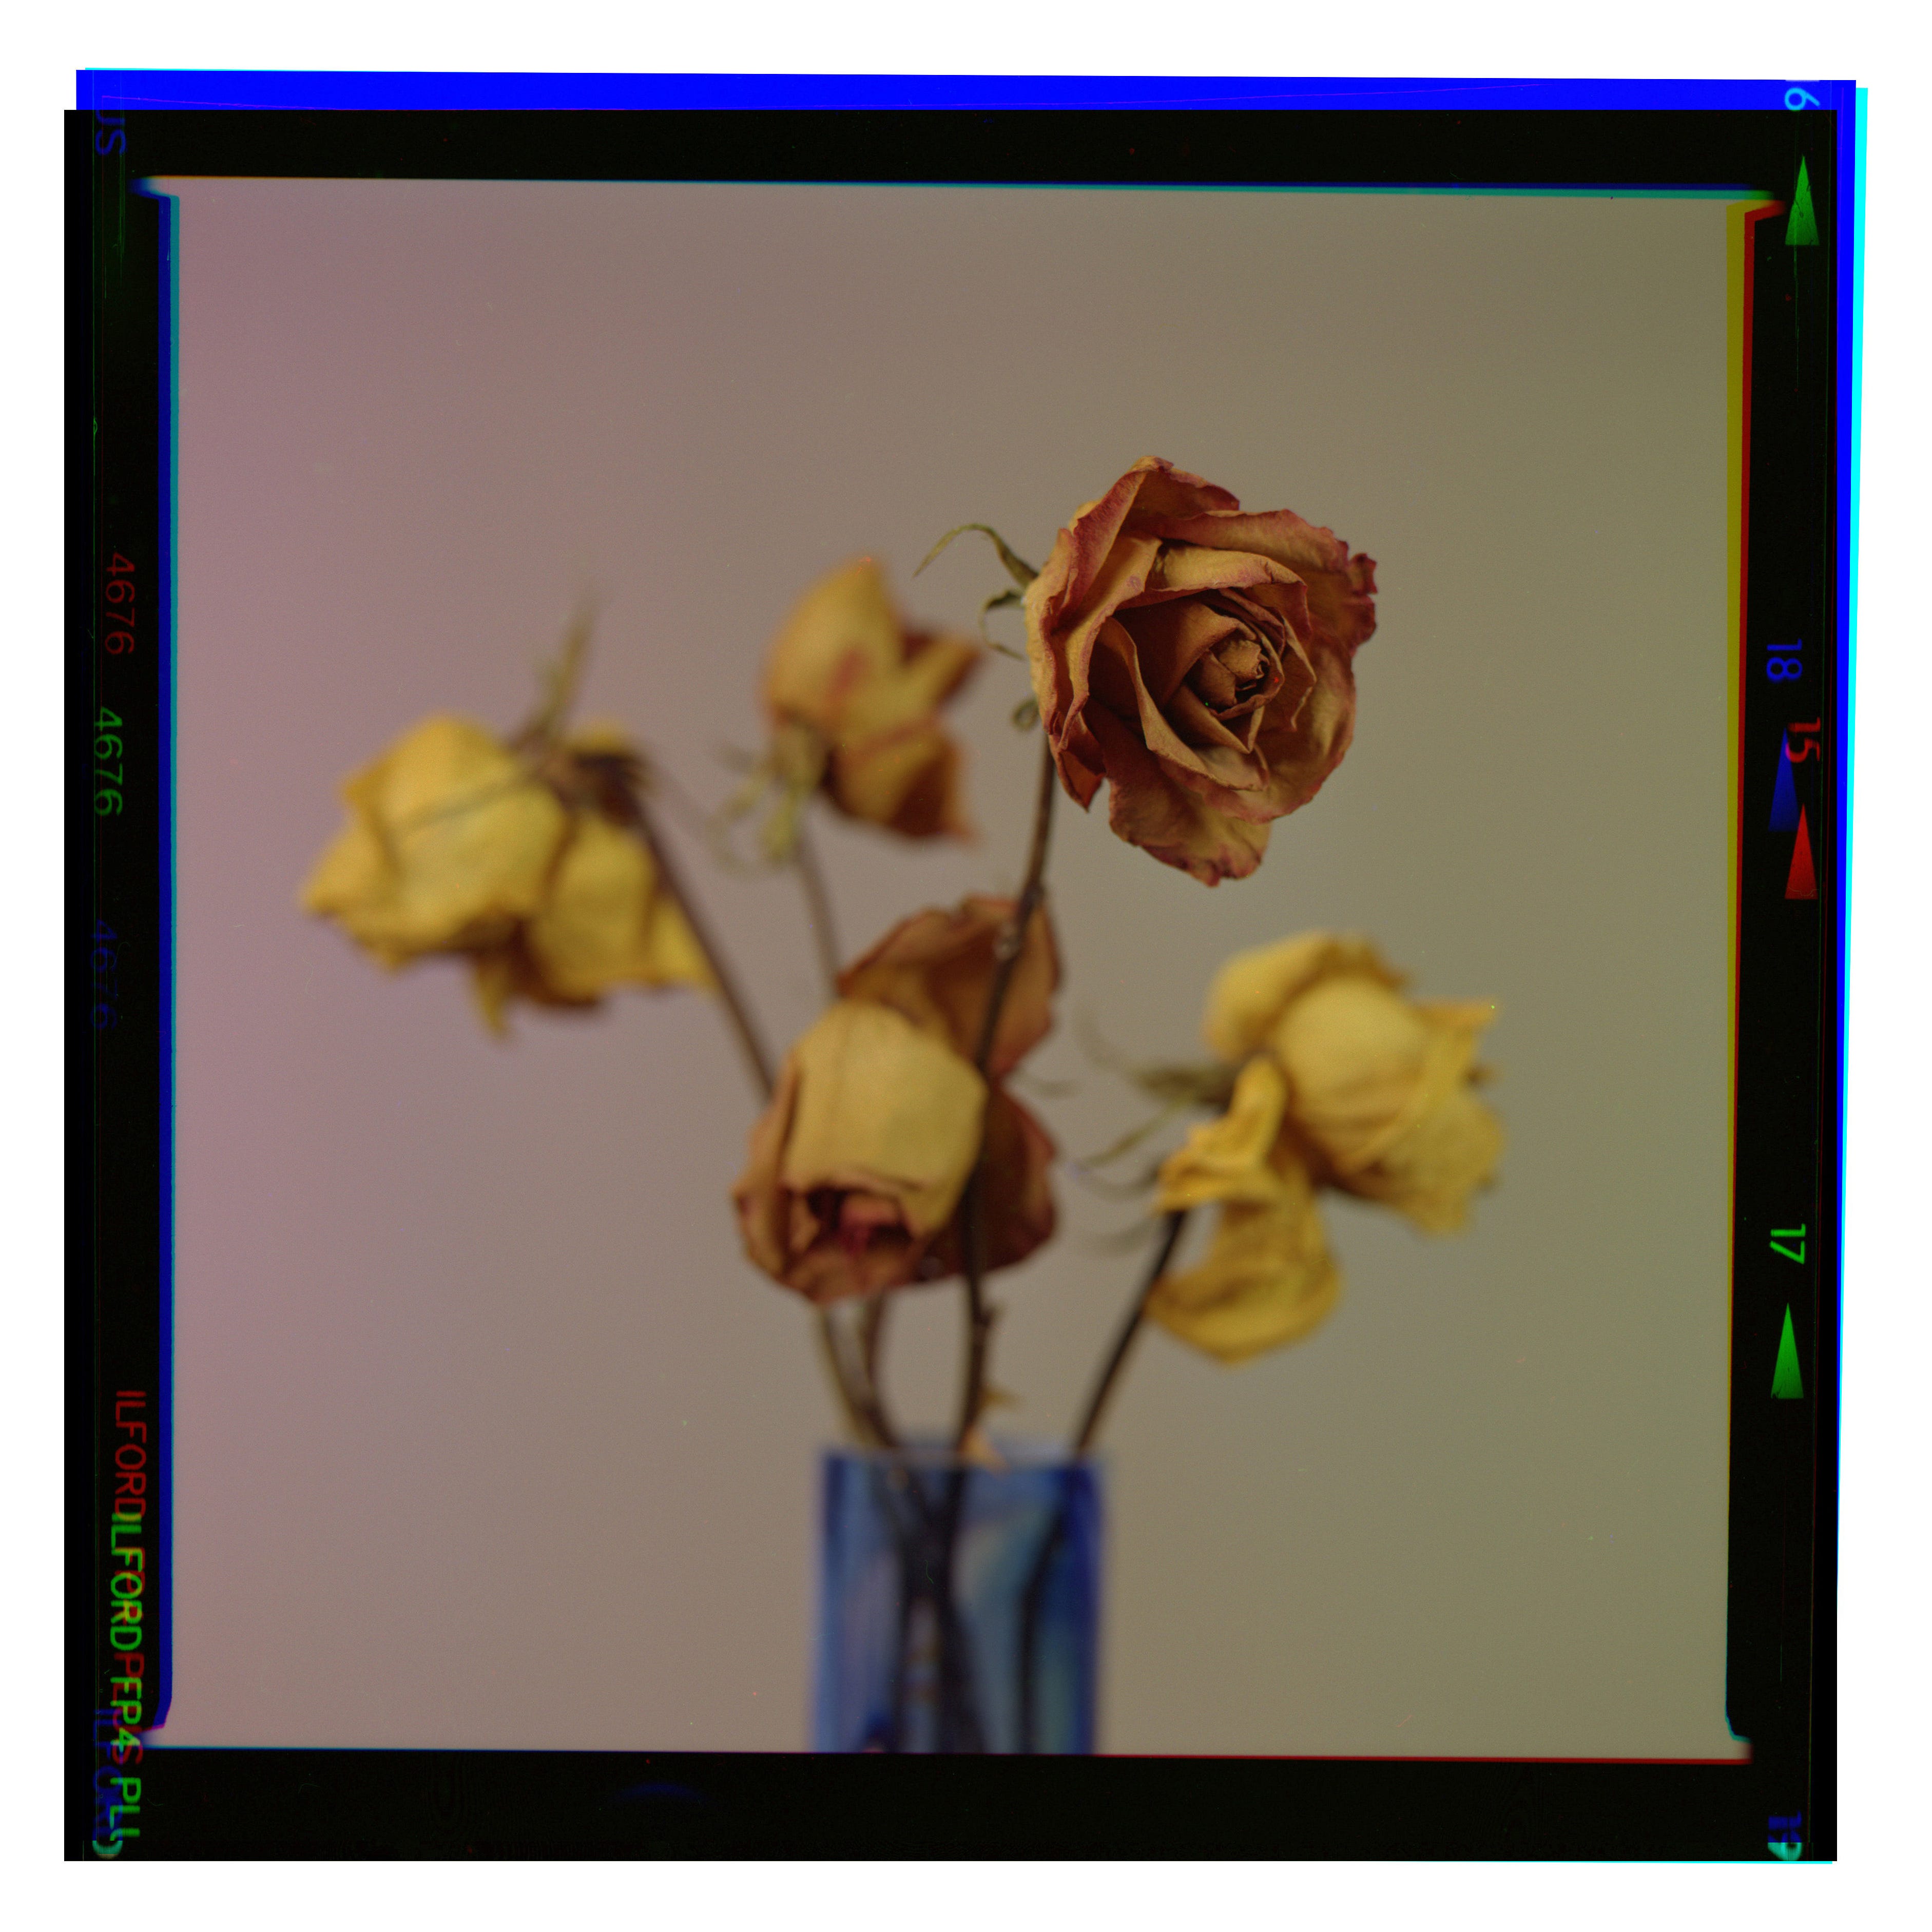
The scope for this process is endless, and since I rarely shoot colour, it allows me to experiment with black and white and colour at the same time. You can also get a very lovely 'old colour' feel about the image; all of the pictures here pretty much popped out of photoshop unaltered - the warm glow and subtle timbre of the daffodil is a huge improvement upon conventional colour methods.
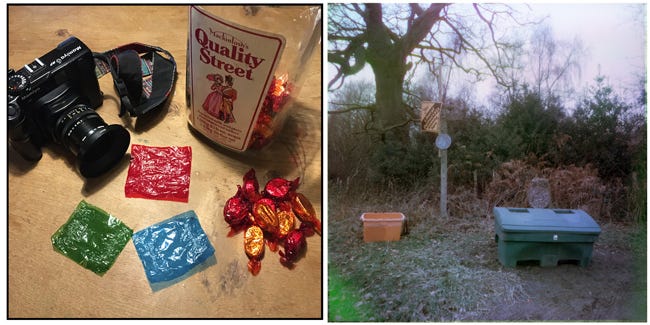
Of course, if you take this a step further, then any coloured filters will work - including Quality Street wrappers. The celophane is crinkly which makes it a little blurred, but there is usually a smooth section in the middle that gives at least the centre of the image some sharpness. The above is my first 'QualityTrichrome' and could be a world first.
Gallery:
Curious side note: Since black and white film does not fade appreciably over time but colour film does quite badly, to record a motion picture film for posterity the reverse is done: Three black and white separations are made from a fully graded print. George Lucas recorded Star Wars in this way and recombined the BW separations as a reference print for one of his digital remastering.
More images, these amongst them, can be found on my instagram feed: jasperfforde
Jasper Fforde debuted on the NYT best seller list with ‘The Eyre Affair’ in 2001. Since then he has written sixteen other novels which some people say are amusing, satirical, and diverting. For balance, others say they are nothing of the sort. More info at www.jasperfforde.com
Latest publication: ‘Red Side Story’ USA/Canada and UK, 2024.
Next Publication: ‘Dark Reading Matter’ UK and Canada/USA, 2026
My substack contains satire, comedy, thoughts, movie memories and more - it’s free, too. If you like what you read, why not subscribe?
This was fun, and informative. Thanks.
I’ve been doing trichromes for several years now. Yours always seem better than mine; your filters are probably better and your photography skills certainly are. I use photoshop elements and a somewhat different process which might affect the results.